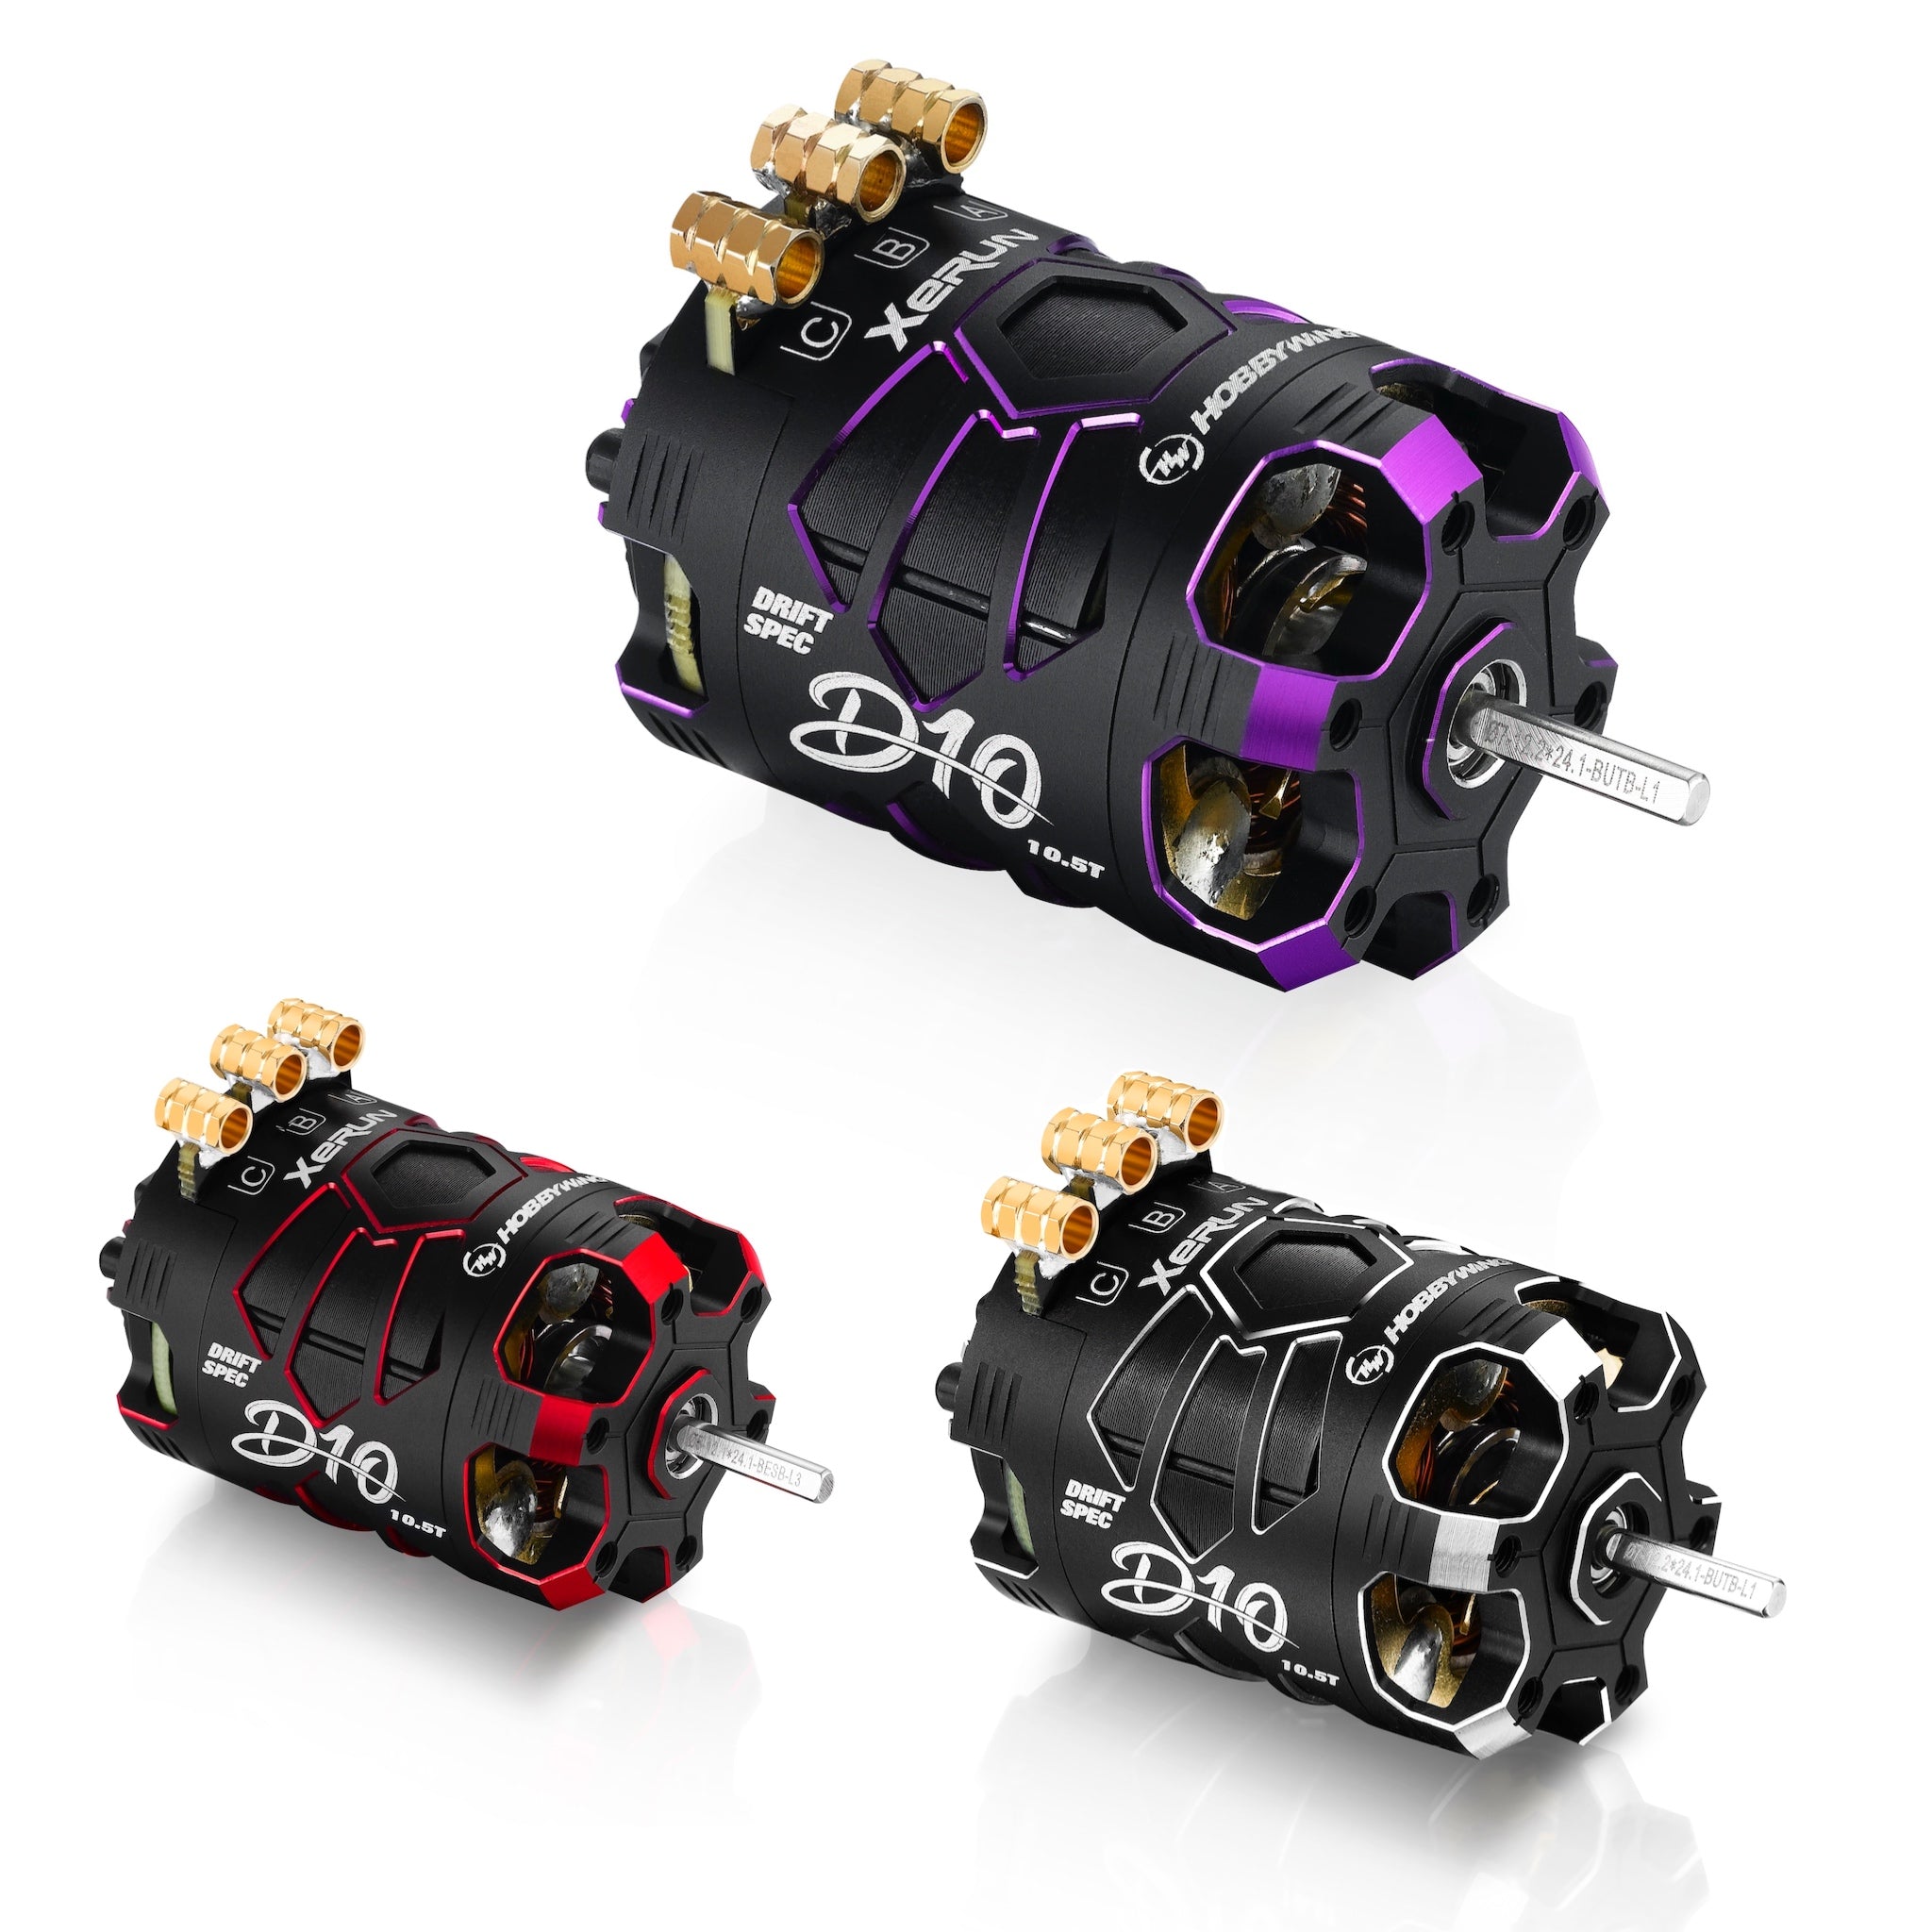
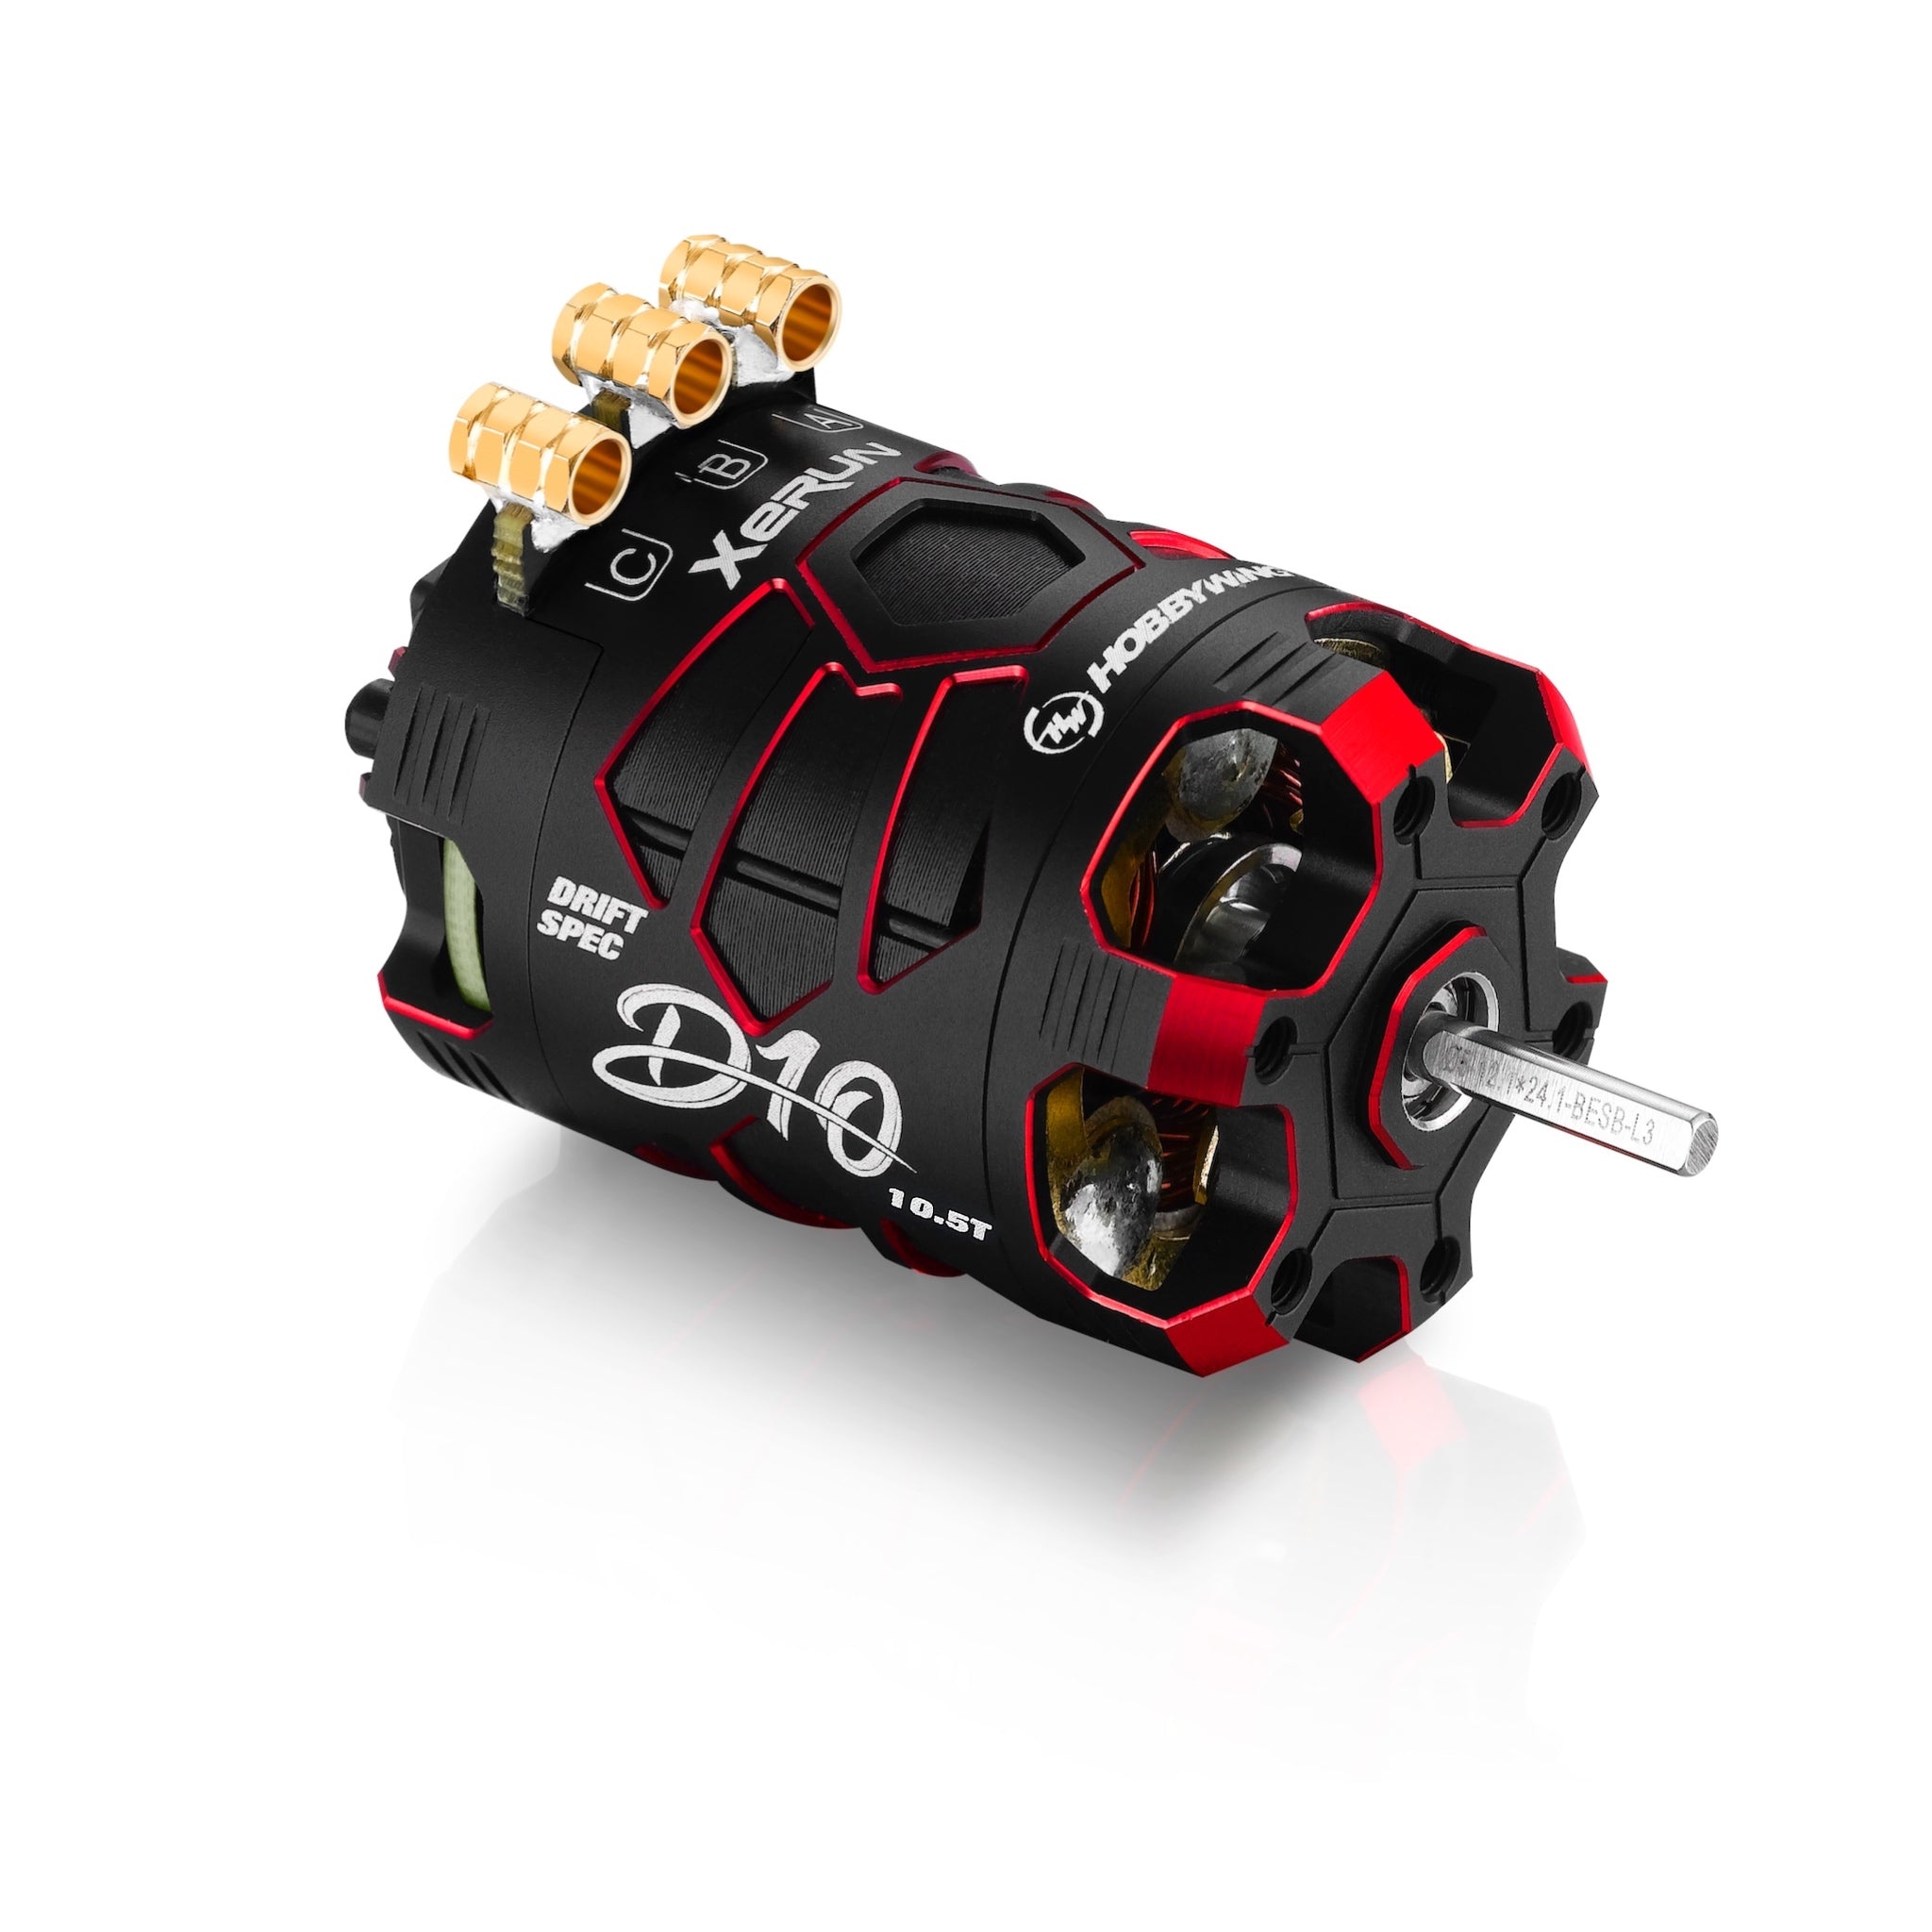
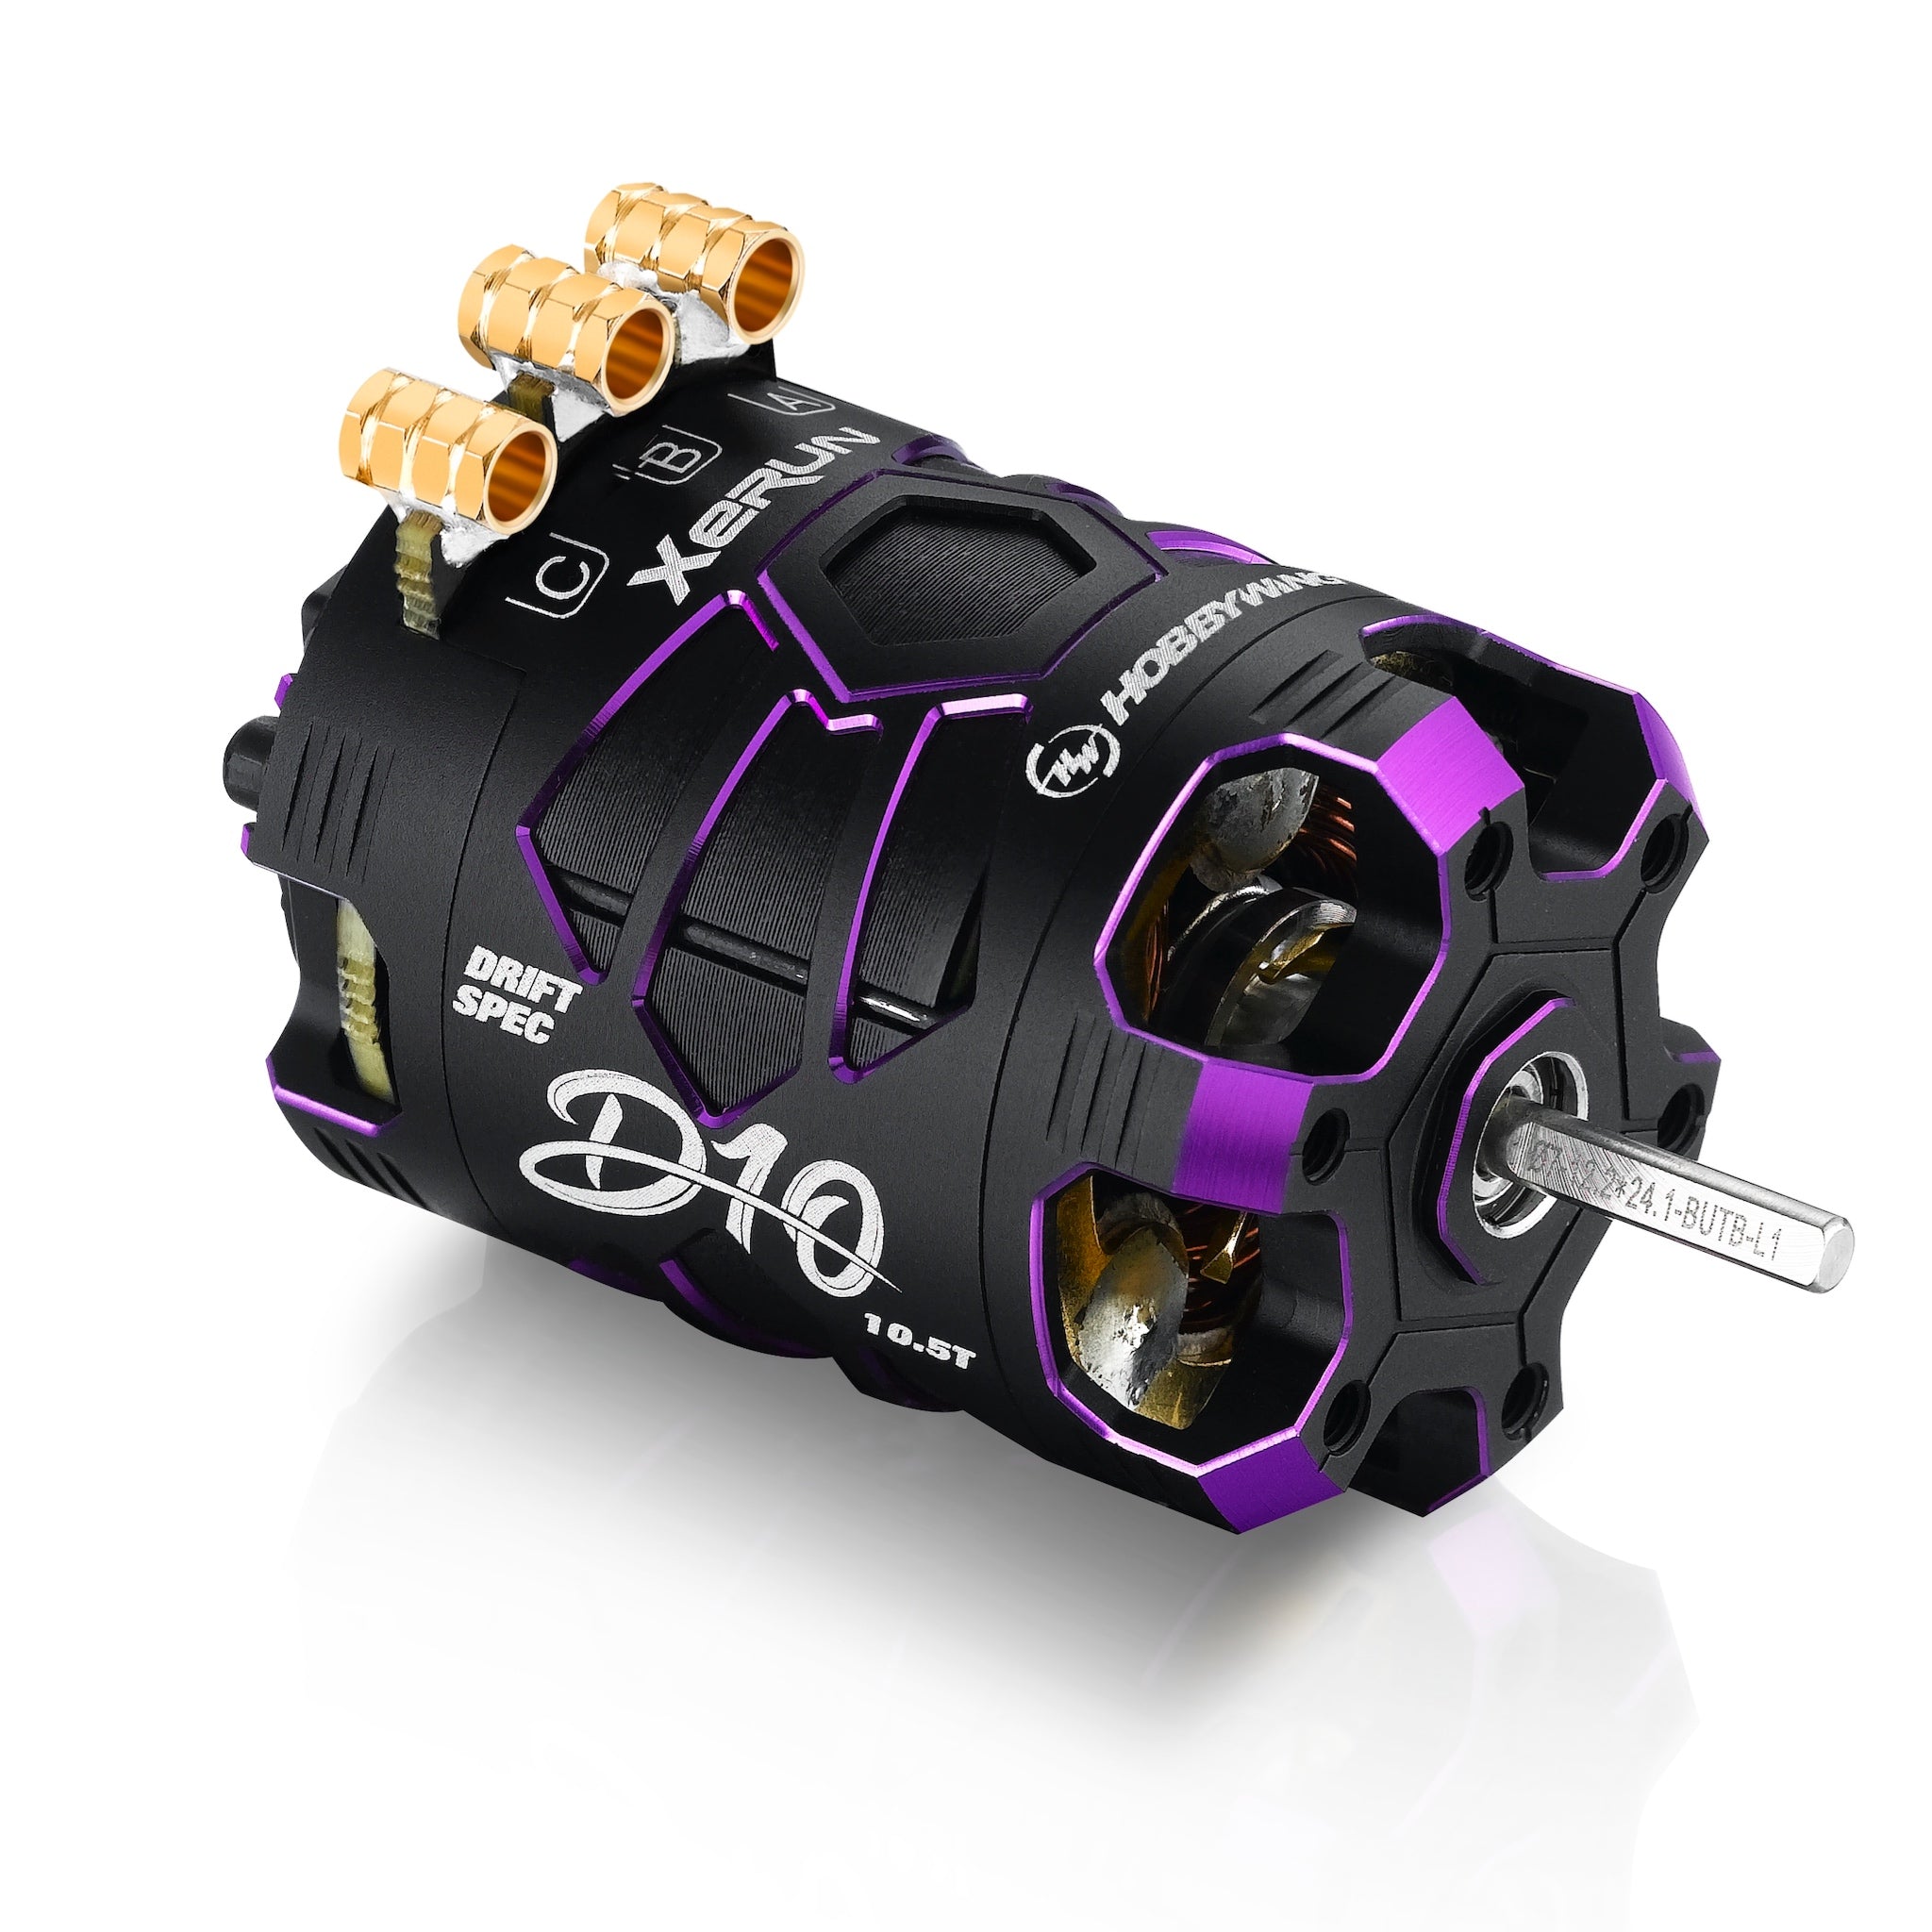
| p/n |
Color |
Stock Rotor |
| 30401134 |
Stealth
|
Φ7-12.2*24.1-BUT*-L1 |
| 30401135 |
Passion
|
Φ7-12.2*24.1-BUT*-L1 |
| 30401136 |
Spirit |
Φ7-12.2*24.1-BUT*-L1 |
IMPORTANT NOTES:
- The D10 motors provide a wide range of adjustable mechanical timings, the following are the methods & principles you can follow when adjusting the timing.
- You can adjust the motor timing after unfastening the screw on the rear end-plate. Please adjust the timing as needed according to the mark (/white lines) at the rear end of the motor and fasten the screw after the adjustment. For obtaining optimal performance, you can change the output range and characteristics of your power system by adjusting the motor timing.
- Increasing the timing can increase the motor speed (/RPM), while that also increases the motor temperature and reduces the efficiency. A high(er) timing usually requires a high(er) ratio.
- Please ensure your ESC is properly programmed before setting the motor timing. For detailed information about ESC programming, please refer to the user manual of the ESC.
- After the timing adjustment, please ensure that your motor will not get overheat after running a whole pack (i.e. LiPo). You can get the information about the motor temperature via a infra-red temperature gun. If the temperature is too high, please let the motor cool down first and then test again. If the temperature is still too high, then please reduce the timing or increase the FDR (that is to replace the pinion gear with fewer teeth or spur gear with more teeth.).
Cautions:
Warranty terms and conditions, please review here
To avoid short circuits, ensure that all wires and joints must be well insulated before connecting the motor to related devices.
- The M3 screws with a length (no longer than 7mm) are needed when mounting the motor onto your vehicle.
- Please pay attention to the relevant marks (on the ESC) when soldering/connecting those output wires to the motor and make sure that you will strictly follow the wiring order (between the ESC & themotor) of “A-A, B-B, and C-C”.
- Please ensure the sensor cable is clean and undamaged when you’re using a sensor ESC. You need to pay attention to the two connectors on the cable when connecting the ESC to the motor.
- Re-check all the connections between the ESC & the motor and ensure that they are all correct before turning on the ESC.